Homemade Garlic Bread That Tastes Like Pure Love
There are some recipes that don’t just feed the body—they warm the heart. This is one of them.
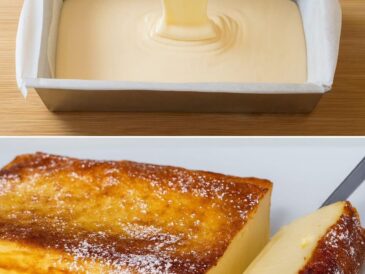
Grandma’s homemade garlic bread is soft, fluffy, golden, and filled with the irresistible aroma of garlic and herbs. It’s the kind of bread that disappears minutes after leaving the oven… and everyone asks for the recipe.
Let’s make it step by step, slowly, confidently, and with that old-school grandma magic ✨
🌟 Why This Garlic Bread Is Special
✔ Soft and airy inside
✔ Golden and glossy outside
✔ Rich garlic-butter flavor
✔ Perfect for beginners
✔ Ideal for pasta, soup, or eating straight from the pan 😍
This is not just bread. This is comfort.
🧺 Ingredients
🌿 For the Dough
- 200 ml warm milk (not hot)
- 10 g sugar
- 5 g dry yeast
- 40 g melted butter
- 1 egg
- 425 g all-purpose (common wheat) flour
- ½ teaspoon salt
🧄 For the Garlic Herb Sauce
- 2–3 cloves garlic, finely chopped or grated
- 2 tablespoons fresh parsley, chopped
- ½ teaspoon dried oregano
- 30 g melted butter
- 1 pinch of salt
🥚 To Brush
- 1 egg yolk
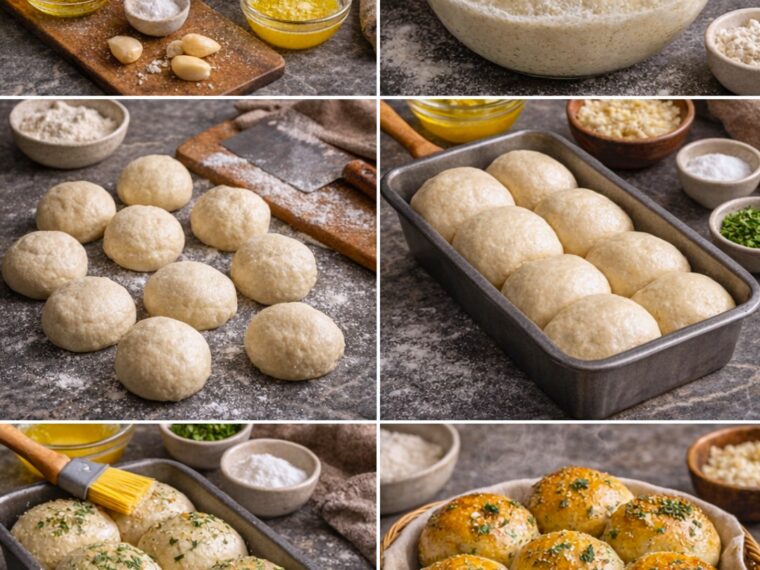
👩🍳 Step-by-Step Preparation (Grandma-Approved)
Step 1️⃣: Wake Up the Yeast
In a large bowl, add:
- Warm milk
- Sugar
- Dry yeast
- Melted butter
- Egg
Mix well until everything is fully combined.
💡 This warm, sweet mixture activates the yeast and gives the bread its softness.
Step 2️⃣: Form the Dough
- Add the flour and salt
- Mix until it comes together
- Knead by hand (or mixer) for 8–10 minutes
You’re looking for a dough that is:
✔ Soft
✔ Smooth
✔ Stretchy
✔ Slightly elastic
👉 If sticky, add a little flour. If dry, add a teaspoon of milk.
Step 3️⃣: First Rise (The Magic Moment)
- Shape dough into a ball
- Place in a lightly greased bowl
- Cover with a towel
Let it rest for 1 hour, or until doubled in size.
✨ This is where the dough becomes light and airy.
Step 4️⃣: Shape the Rolls
- Gently punch down the dough
- Divide into 8–12 equal pieces
- Roll each piece into a smooth ball
Place them close together in a greased baking mold or pan.
✔ Close placement = softer sides after baking.
Step 5️⃣: Second Rise
TO CONTINUE READING THE RECIPE PLEASE SEE PAGE 2