Step 5: Mold the Blocks
- Pack the mixture tightly into your molds
- Press out as much water as possible
The tighter the block, the better it burns.
Step 6: Dry Completely
This step is crucial.
- Remove blocks from molds
- Air-dry for 5–10 days, turning occasionally
- Or place near a heat source (never directly on it)
They must be completely dry before use.
🔥 How to Use Your Fire Blocks
- Place one block under firewood as a starter
- Or burn one or two blocks alone for steady heat
- They light easily and burn evenly
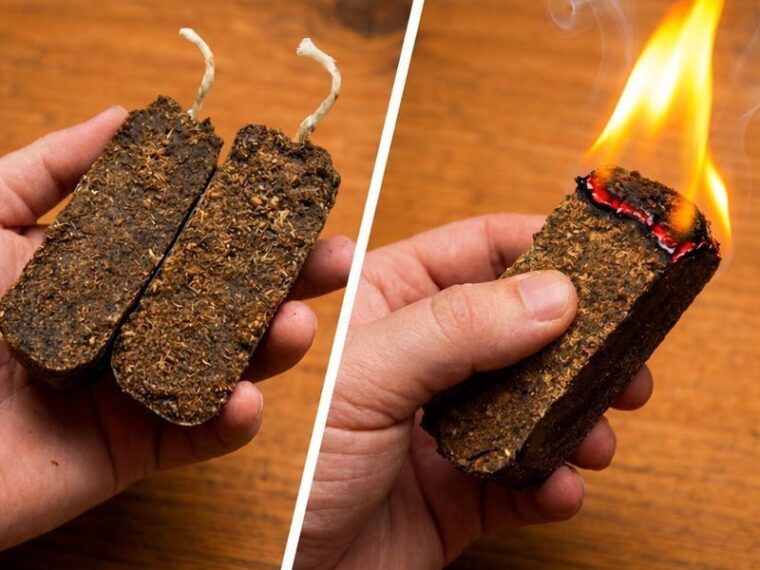
The block shown in the image demonstrates exactly this:
A compact, dense fuel source producing a strong flame with controlled burn.
🛡️ Safety Tips (Important)
- Use only in fireplaces, stoves, or outdoor fire pits
- Never use gasoline or chemicals
- Keep blocks away from children and moisture
- Store in a dry, ventilated place
When made and used properly, these fire blocks are safe, reliable, and effective.
💰 Real Savings, Real Independence
Every fire block you make:
- Replaces something you’d normally buy
- Turns waste into value
- Puts control back in your hands
Over a winter season, the savings can be significant—especially if you heat regularly.
🌱 Final Thoughts: Warmth You Can Be Proud Of
There’s something deeply satisfying about staying warm with fuel you made yourself. No waste. No unnecessary cost. Just simple materials, smart reuse, and steady heat.
This winter, don’t just turn up the heater.
Create your own warmth.
Pages: 1 2