💡 Work slowly—precision makes a big difference in the final look.
Step 5: Add Decorative Elements (Optional)
Enhance your piece with extra touches:
- Sprinkle sand and glue it for texture
- Add rope for a nautical feel
- Use paint to highlight details or create contrast
- Incorporate small stones, driftwood, or beads
Step 6: Let It Dry and Set
- Allow the entire piece to dry for several hours (or overnight)
- Make sure everything is securely attached
Step 7: Seal and Finish
To protect your artwork:
- Apply a clear varnish or sealant
- This adds shine and helps preserve the shells
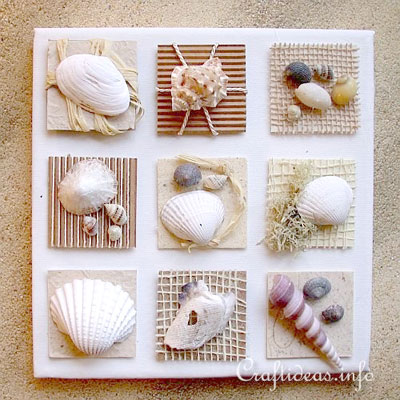
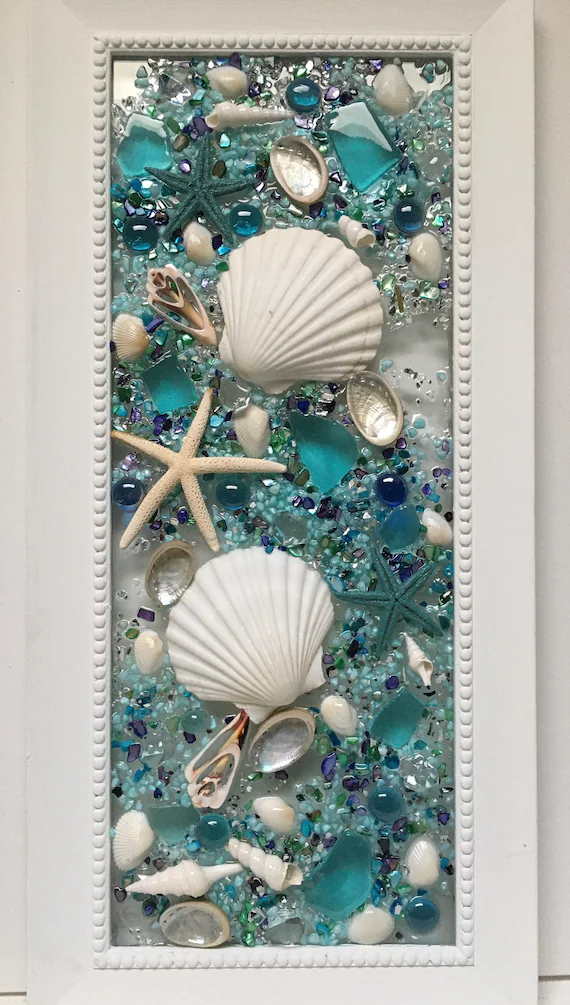
Displaying Your Coastal Artwork
Once finished, your creation can become a beautiful part of your home:
- Hang it on a wall as a reminder of your trip
- Place it on a shelf or table
- Gift it to someone as a personalized keepsake
Final Thoughts
Turning seashells into art is a simple yet meaningful way to extend the life of your travel memories. What starts as a casual beach activity becomes something deeply personal—a handcrafted piece that tells a story.
The beauty of this process lies in its freedom: there are no strict rules, only your imagination. Each shell carries a memory, and each creation becomes a unique reflection of your experience by the sea.
Pages: 1 2