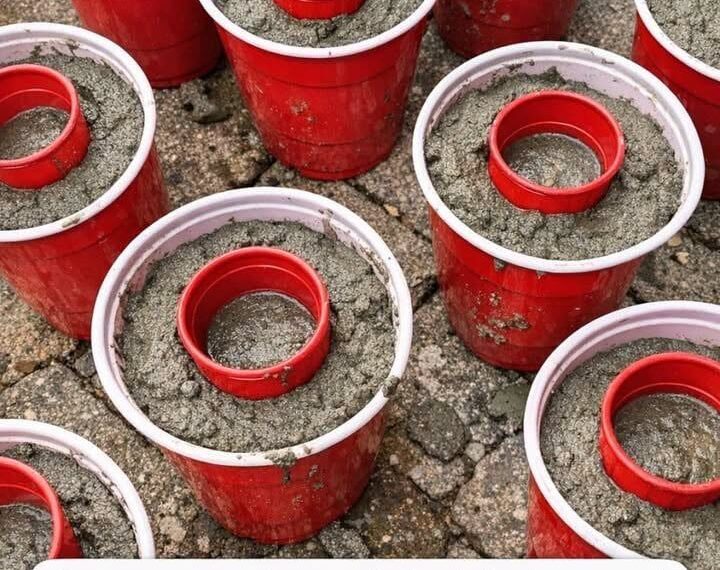

If you’re looking for a unique garden project that costs very little but looks like something from a high-end landscaping store, this DIY idea is worth trying. By using ordinary plastic cups as molds, a simple concrete mix, and a handful of decorative river stones, you can create modern concrete garden lanterns, candle holders, or decorative sculptures that instantly upgrade any outdoor space.
These minimalist concrete pieces combine natural textures with clean geometric shapes, making them perfect for patios, flower beds, walkways, or Zen-inspired gardens. Even better, you don’t need expensive molds or professional masonry skills—just a few household supplies and an afternoon of work.
Here’s everything you need to know.
Why This DIY Project Is Becoming So Popular
Concrete garden décor has exploded in popularity over the last few years because it offers several advantages:
- Extremely durable outdoors
- Resistant to rain and UV rays
- Modern, minimalist appearance
- Surprisingly inexpensive
- Completely customizable
- Easy enough for beginners
Unlike plastic decorations that fade after one season, properly cured concrete can last for many years.
The stacked cup method creates perfectly smooth cylinders without needing expensive silicone molds.
What Is the “Secret Yard Item”?
The image hints at one extra item hidden inside the concrete.
The secret is a small PVC pipe, wooden dowel, or empty cardboard tube placed in the center before the concrete cures.
This creates a hollow cavity that can be used for:
- Tea lights
- LED candles
- Solar garden lights
- Small succulents
- Bamboo stakes
- Decorative glass marbles
That simple hidden feature transforms an ordinary concrete cylinder into an elegant outdoor decoration.
Materials You’ll Need
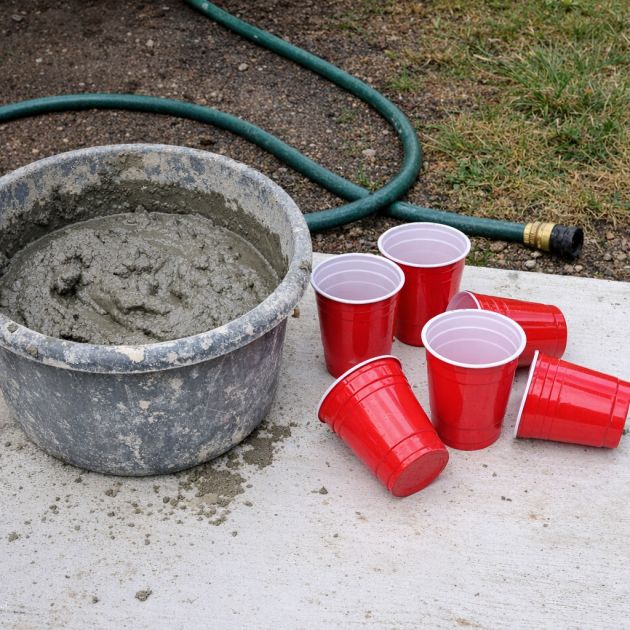
- Concrete mix
- Water
- Two large plastic cups for each mold
- One smaller cup (optional)
- Small PVC pipe (1–2 inches wide)
- Cooking spray or mold release
- Decorative river stones
- Disposable gloves
- Mixing bucket
- Stir stick
- Sandpaper
- Outdoor concrete sealer (optional)
Step 1: Prepare Your Molds
TO CONTINUE READING THE ARTICLE PLEASE SEE PAGE 2